
Watch Mandric walk you through this topic
Default templates cover most scenarios, but if you want a portal tuned to your style or a deal type we don't ship out of the box, build your own.
Where The Template Editor Lives
- Go to Client Portals in the sidebar.
- Click Edit Portals to open the Portals modal.
- At the top of the modal, use the toggle to switch between Templates and Add-on packs. Start on Templates.
- Either:
- Click New Template to start from scratch.
- Click an existing template (including a BrokerPlus default) to open it in the editor. Use the row menu to duplicate first if you want to keep the original untouched.
Naming A Template
Creating a template just names it and gives it an optional description. You don't lock in a mode up front - the editor lets you add as many or as few intake fields and document requests as you want, and what each portal collects is decided per template and adjusted per send. A docs-only experience is simply a template with document requests and no intake fields.
Configuring Tabs
Intake fields are grouped into these tabs by default: Property, Income, Stated Income, Downpayment, Liabilities, Transactions, Summary.
For each tab you can:
- Toggle the tab on or off - hide tabs you don't need for this template.
- Reorder fields within a tab.
- Add or remove fields.
- Mark fields as required or optional.
Single Vs Joint Applications
Some deals have one applicant, others have a primary applicant plus one or more co-applicants. The editor lets you tune which questions each application type shows.
At the top of the editor there's a View As toggle: Single application or Joint application (the default). It only changes the preview - it shows the question set each type would see, so you can check both before saving.
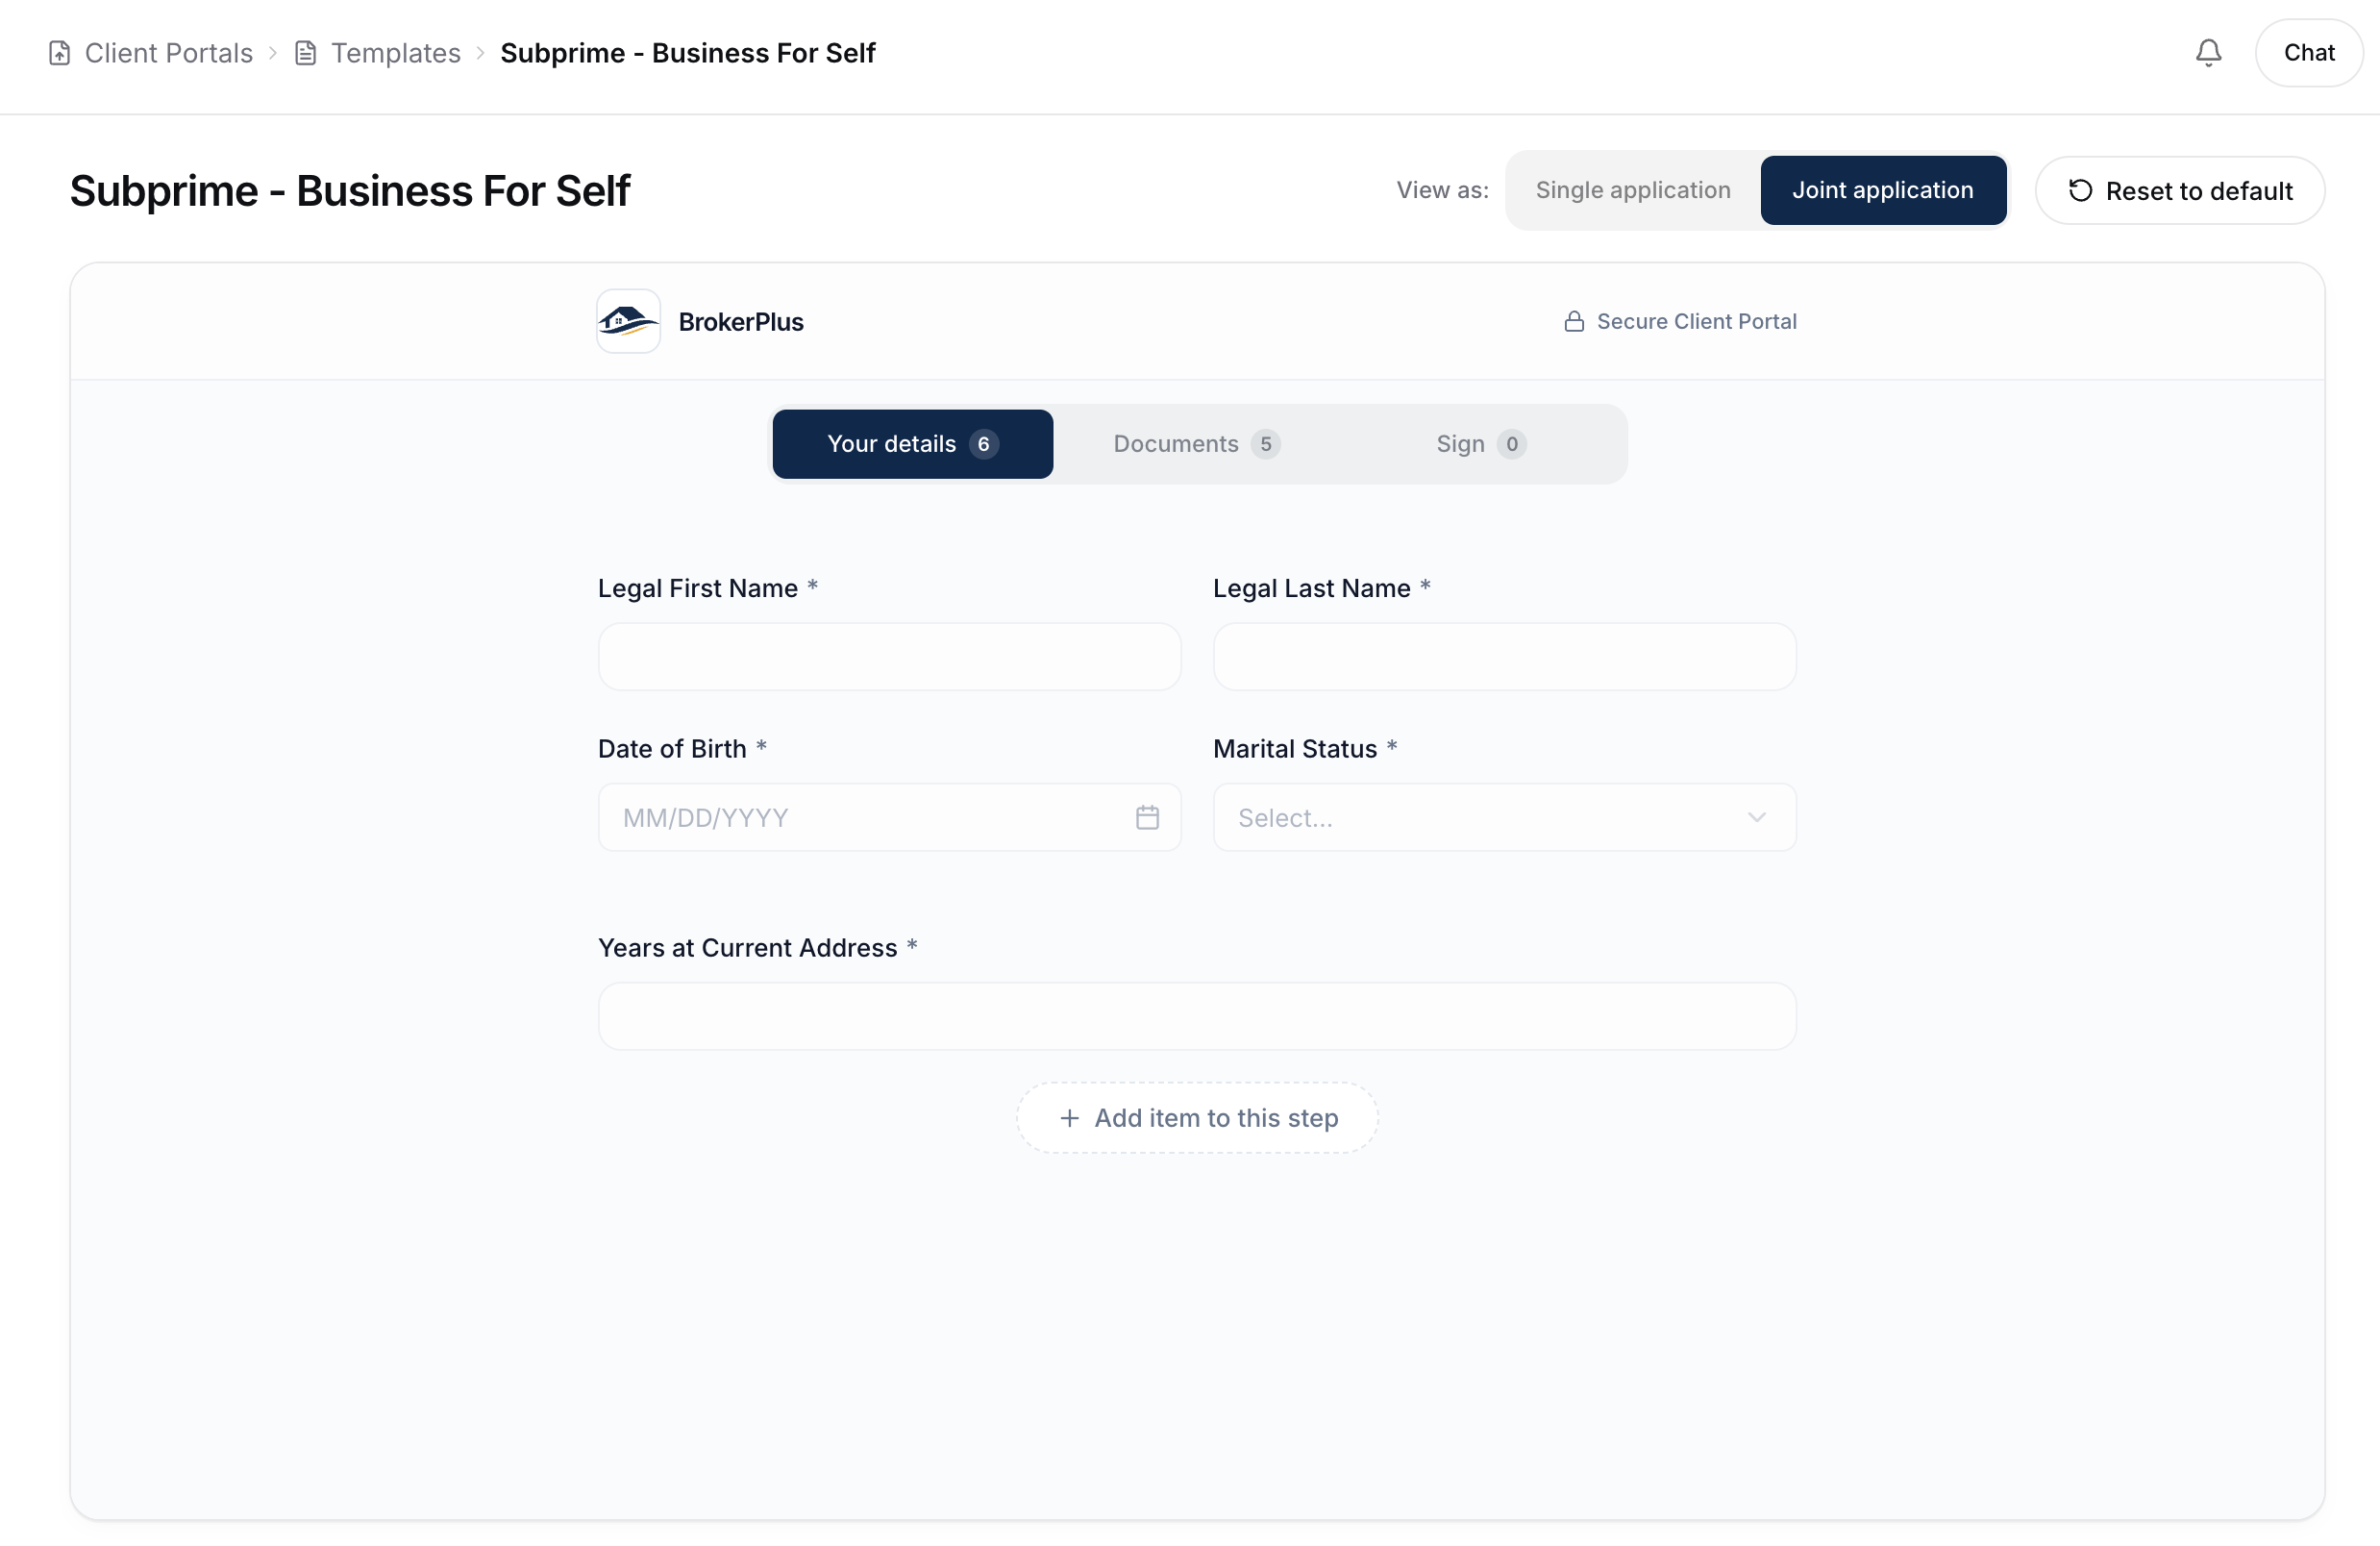
Each question has a Show on control (under Advanced in the edit panel) with three options:
- Both - the question appears on every application.
- Single application - only when there's one applicant.
- Joint application - only when there's a co-applicant.
A question set to Joint application won't appear while you're viewing as a single application, and vice versa.
When viewing as a joint application, each question also gets an Applies to control that decides who answers it:
- Both - every applicant answers.
- Primary - only the primary applicant.
- Co-applicant(s) - every co-applicant on the deal.
Applies to is hidden in the single-application view, since there's only one person to answer.
Configuring Document Requests
For each document the portal requests:
- Name - e.g., "Most recent paystub."
- Document type - pick what the document is from the catalog. Start typing to search it by name, or browse the list grouped by category (income, assets & down payment, identity, property, debt, business, other). It covers the full range of documents a Canadian residential mortgage file collects, not just the common few. Setting the type lets BrokerPlus classify the upload and run the right checks on it. Leave it on Detect automatically to have BrokerPlus identify the document on upload. The identity category includes Secondary ID (name only) for a second piece of ID that just needs the borrower's name on it - a credit card, bank card, or birth certificate, say - when it doesn't have to be government-issued.
- Description - guidance for the borrower.
- Required vs optional.
- Acceptance rules - file type, multiple uploads allowed, etc.
- Add another account - for statement requests collected month by month (bank, investment, business), leave Borrowers can add another account on so a borrower with more than one account can upload each one's set. It's on by default for these multi-slot requests and hidden for single-file or government ID requests.
Name a request after a common document type - "T4", "NOA", "paystub", "employment letter", "government ID", "mortgage statement" - and the editor auto-fills its standard explanation, sample image, and one-line helper text for you, all editable afterward. Changing a request's type from the document-type picker re-seeds these, unless you've already customized them. Document types without a standard BrokerPlus explanation (bank statements, void cheque, gift letter, property tax, and the like) just carry the sample image as before.
For PDFs that need signatures, attach them in the document request and configure the signature fields. See Adding Documents For Signature.
Editing The "What Is This?" Details
Every document request shows the borrower a What is this? link that opens a panel explaining the document and how to find it. Each request starts with a sensible default you can tailor per template.
In the edit panel, under What the borrower sees, open Edit "What is this?" details (below "Add note to borrower"). It loads the current explainer so you can edit it: format with bold, italic, underline, bullet lists, and links, add an image like a sample document, and give it an optional title.
Leave it untouched to keep the default, or click Remove to revert. Borrowers see your version when they tap What is this? on that request.
Reusing A Saved Field
When you build an intake field or document request, BrokerPlus remembers it, so the next time you need the same one you don't have to rebuild it by hand.
In the Add item dialog:
- As you type a name, if it matches something you've set up before, a Looks similar to... prompt appears with a Reuse button.
- Click Reuse a saved field at the bottom to browse and search everything you've saved, then pick one.
Reusing a field brings back its full setup - the document or field type, required or optional, who answers it, visibility rules, and the "What is this?" details - not just the name. You can still edit anything after it lands. Saved fields are private to you, and each one keeps its most recent versions, so the copy you reuse reflects how you last set it up. Signing forms aren't saved this way.
Saving And Previewing
The canvas shows the borrower's view in real time as you build. Your changes save on their own - a Saved note appears at the bottom of the screen once they're recorded, so there's no Save button to click. If a signing form is still missing a signature field, the bar shows that instead and holds the change until you fix it.
Using Your Template
Your template appears in the picker when you click Send Portal. It sits alongside the defaults.
Editing Later
Templates aren't versioned today. If you edit a template after using it on past clients, the past sessions keep their original structure (your edit only affects future sends).
Add-on Packs
An add-on pack is a reusable bundle - extra intake fields, document requests, or signing forms - that layers additively on top of whichever template you pick at send time. Its items get appended to that template's, so one pack can extend any template without duplicating it.
Packs are yours to build and edit, in the exact same editor as templates:
- In the Portals modal, switch the toggle to Add-on packs.
- Click New Pack to start from scratch, or use the row menu to duplicate an existing pack.
- Click any pack to open it in the same editor. Everything works the same way: intake fields and tabs, document requests, signing forms, the View As single/joint toggle, and the per-item Show on and Applies to controls.
Because it's the same editor, all the configuring, previewing, and saving guidance above applies to packs too.
What To Do Next
- Send a portal using your template: Sending A Portal.
- Add custom conditions on top at send time: Custom Conditions.
- Layer addon packs for one-off scenarios: Addon Packs.