
Watch Mandric walk you through this topic
Before you send, decide what each borrower will do and review exactly what they will receive.
Choosing What To Collect
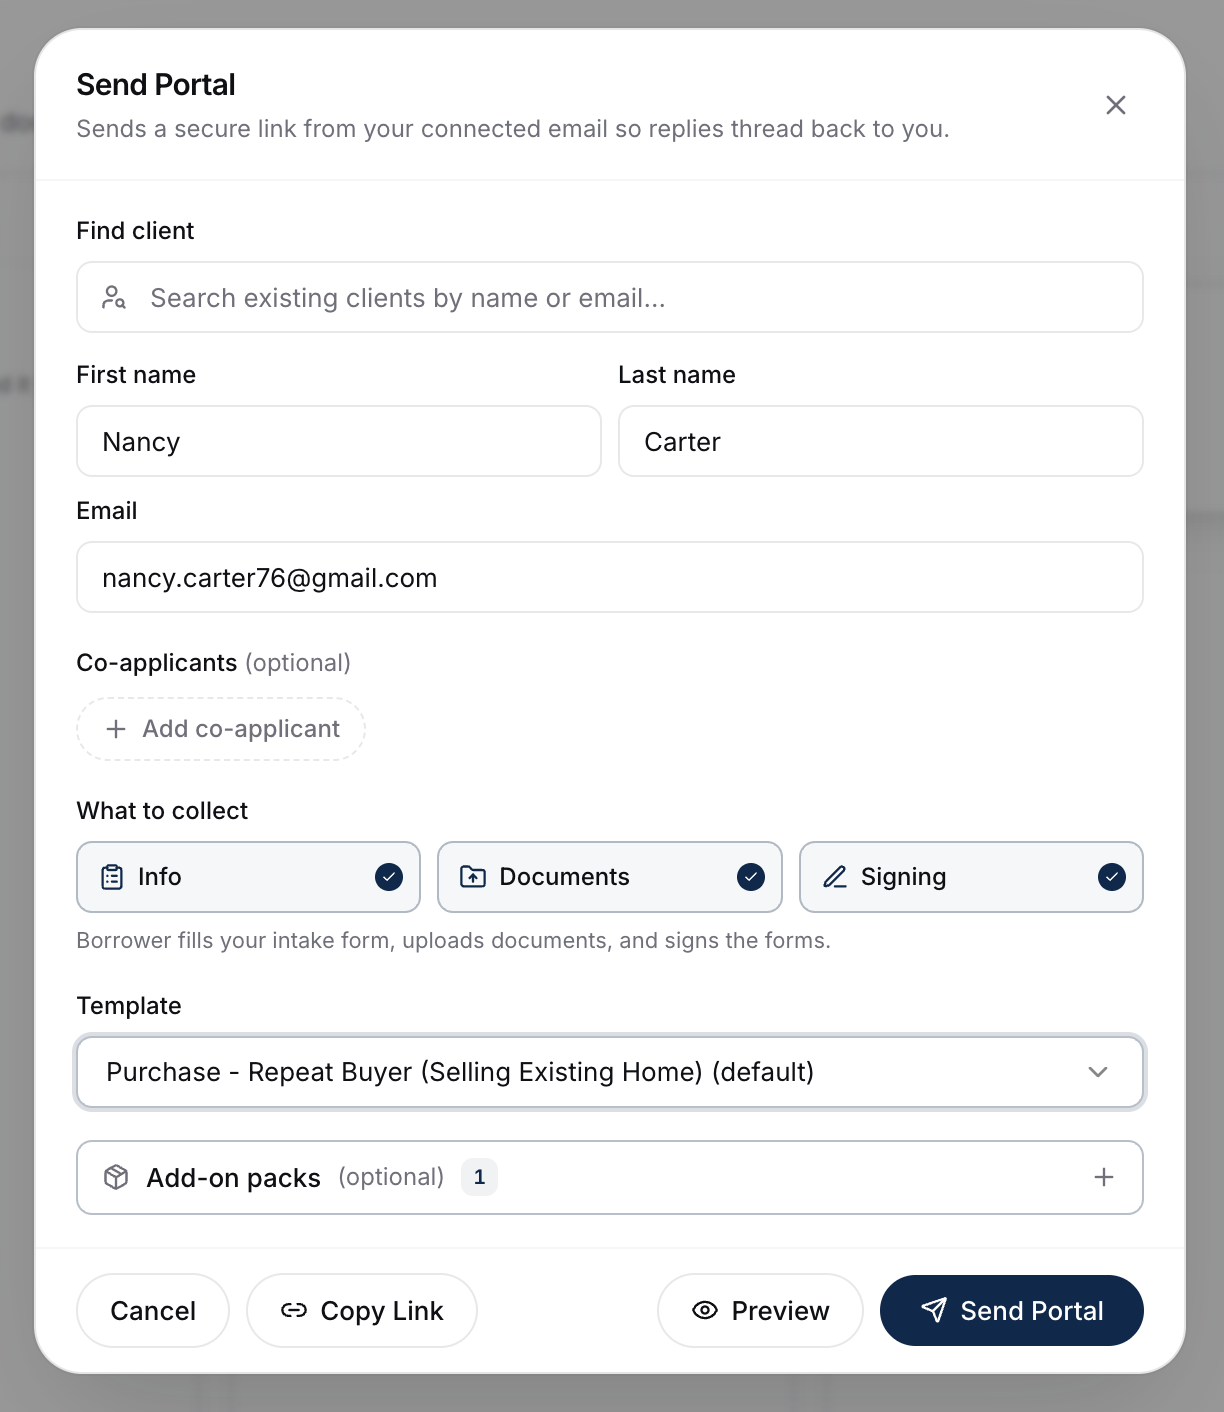
Three independent toggles control the portal. All three are on by default:
- Info - the borrower fills out your intake forms.
- Documents - the borrower uploads requested files.
- Signing - the borrower signs the forms included in the portal.
Any combination works, including a signing-only portal, but at least one toggle must stay on for each applicant.
When you add a co-applicant, each person gets their own What to collect section. For example, the primary applicant can complete all three steps while a co-applicant uploads documents only. Each applicant needs a distinct email address and receives their own secure link.
Preparing The Portal
- Choose the client, or enter their name and email if they are not already in your book.
- Add any co-applicants and set the Info, Documents, and Signing toggles for each person.
- Choose a template, then add any addon packs needed for the deal.
- Click Review & send. BrokerPlus runs the portal checks before opening the review screen.
- Review the Email and Portal tabs. Once the email preview has loaded, click Send Portal inside the review screen.
Reviewing Before Sending
Review & send is the required path for email delivery. It does not send immediately. After validation and any warnings are resolved, the review screen opens with two tabs:
- Email shows the sender, recipient, subject, and rendered invitation.
- Portal shows the client experience. For a joint application, use Previewing as: to inspect each applicant's version.
The Portal tab is also where you can adjust this send's portal configuration. Drag items to reorder them, click an item to edit it, add an info field, document request, or signing document, or remove something the client does not need. These changes apply only to this send and do not alter the template. Reset to template discards the per-send changes.
The final Send Portal button stays unavailable until the email preview finishes loading. Only that button inside the loaded review screen sends the invitation email. If sending fails, the review stays open and displays the error so you can try again.
Validation And Warnings
The same checks run before Review & send and Copy Link:
- An empty portal is blocked and points you back to the template or collection settings.
- Signing forms that depend on intake answers cannot be included when nobody has Info turned on. A warning lists the affected forms before you continue.
- Incomplete applicant details or duplicate applicant email addresses block the action.
Copying Links Instead Of Emailing
Choose Copy Link when you want to share the portal yourself. After the checks pass, BrokerPlus creates the portal and copies its secure link directly without opening the email review or sending an email. For a joint application, the success screen lists a separate link for each applicant.
What To Do Next
- Add one-off requests: Adding Custom Conditions To A Portal.
- Track progress after sending: Tracking Portal Status.
- Review the submission: Working A Portal Submission.